Your Complete Guide to Safely Photographing the 2024 Total Solar Eclipse with a DSLR Camera
Your Complete Guide to Safely Photographing the 2024 Total Solar Eclipse with a DSLR Camera
Introduction
With the highly anticipated 2024 total solar eclipse just around the corner, many astrophotographers are eager to capture this breathtaking celestial event. In this comprehensive guide, I’ll walk you through the essential steps to safely and successfully photograph the eclipse using a DSLR camera, a certified solar filter, and specialized software that will automate your imaging sequence.
Before we dive into the details, it’s crucial to emphasize the importance of eye safety during a solar eclipse.
Never look at the sun without a certified solar filter that provides adequate eye protection, as permanent eye damage may occur. You MUST use a solar filter that meet the ISO 12312-2 international safety standard.
Recommended gear and setup
I recently found this YouTube video from Nico (Nebula Photos) with tons of information on how to plan to image the upcoming eclipse with a DSLR camera.
I made some changes to adapt to my own setup and I have carefully curated a comprehensive list of all the essential gear, software, and accessories I plan to use to capture this once-in-a-lifetime event. If you have a DSLR camera and a solar filter that meet the ISO 12312-2 international safety standard, you can use this list as a reference.
- Nikon D5300 DSLR camera with a 200mm lens: I will use this camera and lens. This combination should provide good results for capturing the solar eclipse.
- A star tracker. I will use a Sky-Watcher AZ-GTi Mount in equatorial mode. Using a star tracker will help you track the sun’s movement during the eclipse, ensuring sharper images. If you don’t have a star tracker, you can also use a normal tripod, but you will have to manually move the camera to follow the apparent motion of the Sun in the sky. With a 200mm lens you will need to center the Sun in the field of view of your camera every 2-3 minutes.
- Solar Eclipse Timer App: This app (available for Android and iOS) will notify you of the critical events during the eclipse, such as when it’s safe to remove the solar filter. You will need to purchase the data for the April 8 2024 eclipse ($1.99).
- A DYI solar filter for the camera made with a Baader AstroSolar® films (ISO 12312-2): These films reduce the sun’s intensity by 99.999% (factor of 1:100,000), making it safe to photograph the eclipse.
- Xavier Jubier’s Eclipse Exposure Calculator website: This tool will help you determine the optimal exposure settings for your camera during the different phases of the eclipse.
- Backyard Nikon Premium Edition (v. 2.1.3) and a plan you created ad hoc: Using this software, you can plan and automate your photography setup for the eclipse. If you have a Nikon D5300 camera, you can download the plan I created for the upcoming eclipse here. The default location for storing imaging plans in Backyard Nikon is typically C:\Users\<current_user>\Pictures\BackyardNIKON\Plans. Change the plan to your preference This folder is where Backyard Nikon will save your imaging plans by default. Feel free to adjust the settings to your preferred configuration. Once you’re satisfied with the customized plan, you can save it again.
If you have a Canon DSLR camera, you can use Backyard EOS. During the partial phase of the eclipse, my plan is to shoot an image every 5 minutes with a remote control for my camera. The settings for the partial phase are 1/800 or 1/1000 sec. at ISO100/200 and F/11. I will use Backyard Nikon during the totality only. - Bracketing, bracketing, bracketing! One crucial technique to master for photographing a solar eclipse with a DSLR is exposure bracketing – capturing a series of shots at different shutter speeds, apertures, and ISO settings. This allows you to ensure you obtain at least one properly exposed image, as the rapidly changing light conditions during an eclipse can make nailing the perfect exposure challenging. By bracketing your shots, you’ll have a range of options to choose from later, increasing your chances of getting that perfect, well-exposed shot of the sun’s corona and other eclipse details.
- Save the images in RAW format. There are many advantages to saving images of a solar eclipse from a DSLR in RAW format. To mention a few of them:
- Greater dynamic range and color information preservation
- Better noise reduction and detail recovery
- Ability to correct mistakes and recover details
- A dummy Battery Kit for Nikon D5300: This will ensure your camera has a constant power supply during the eclipse. If you don’t have a dummy battery, I suggest to have multiple batteries for your camera and remember to charge them before the eclipse. The last thing you want is to have your DSLR camera’s battery drain and the camera turn off during the critical moments of totality. To avoid this, be sure to bring multiple fully charged batteries and keep them insulated from the cold to maximize their lifespan.
- A power outlet: To power your equipment and keep it running throughout the event. Also remember to bring all the necessary cables, adapters, power cords and extension cords with you.
- Your laptop: For running the Backyard Nikon software and accessing the exposure calculator.
- It’s also a good idea to bring a piece of cardboard or other opaque material to screen your laptop during the eclipse. The bright sunlight during the partial phases can make it difficult to see your screen, which could interfere with your ability to monitor your camera settings, focus or use any eclipse photography planning software.
- A camping chair, warm clothes, a blanket, and a bottle of water: To stay comfortable during the eclipse, as the temperature can drop several degrees during totality.
Preparing for the Eclipse
- Set up your equipment: Assemble your camera, lens, star tracker (or tripod), and other accessories according to the manufacturer’s instructions.
- Configure your Backyard Nikon software: Use the software to plan your photography session, taking into account the eclipse’s timing and your location. As of April 05, 2024, the cost of the premium version of this software is $68.18 CAD.
- Manually Focusing Your DSLR Camera for Photographing the Solar Eclipse: It is absolutely critical that you manually focus your DSLR camera on the sun before the eclipse starts. Disable the autofocus on your lens, as it won’t work.
- Utilize the Eclipse Exposure Calculator: Visit the Xavier Jubier website and input your camera and lens details to determine the optimal exposure settings for each phase of the eclipse.
- Test your setup: Conduct a dry run to ensure everything is working correctly and that you’re comfortable with the process.
During the Eclipse
- Follow the Solar Eclipse Timer App: This app will notify you when it’s safe to remove the solar filter and capture the totality phase.
- Enjoy the Moment: During the totality, start the sequence with Backyard Nikon, step away from the camera and enjoy the eclipse, as your automated setup will handle the photography!
- Capture the Eclipse: Once the totality is over, replace the solar filter and continue capturing the remaining phases of the eclipse.
Post-Processing
- Process your images: Use your preferred image editing software to process and colorize the images you captured during the eclipse.
- Share your Results: Showcase your best shots, including a processed and colorized image of the sun, in your final video.
With the recommended gear, the use of specialized software and tools, and attention to safety and automation should result in a successful and enjoyable eclipse photography experience. Best of luck with the eclipse and clear skies!

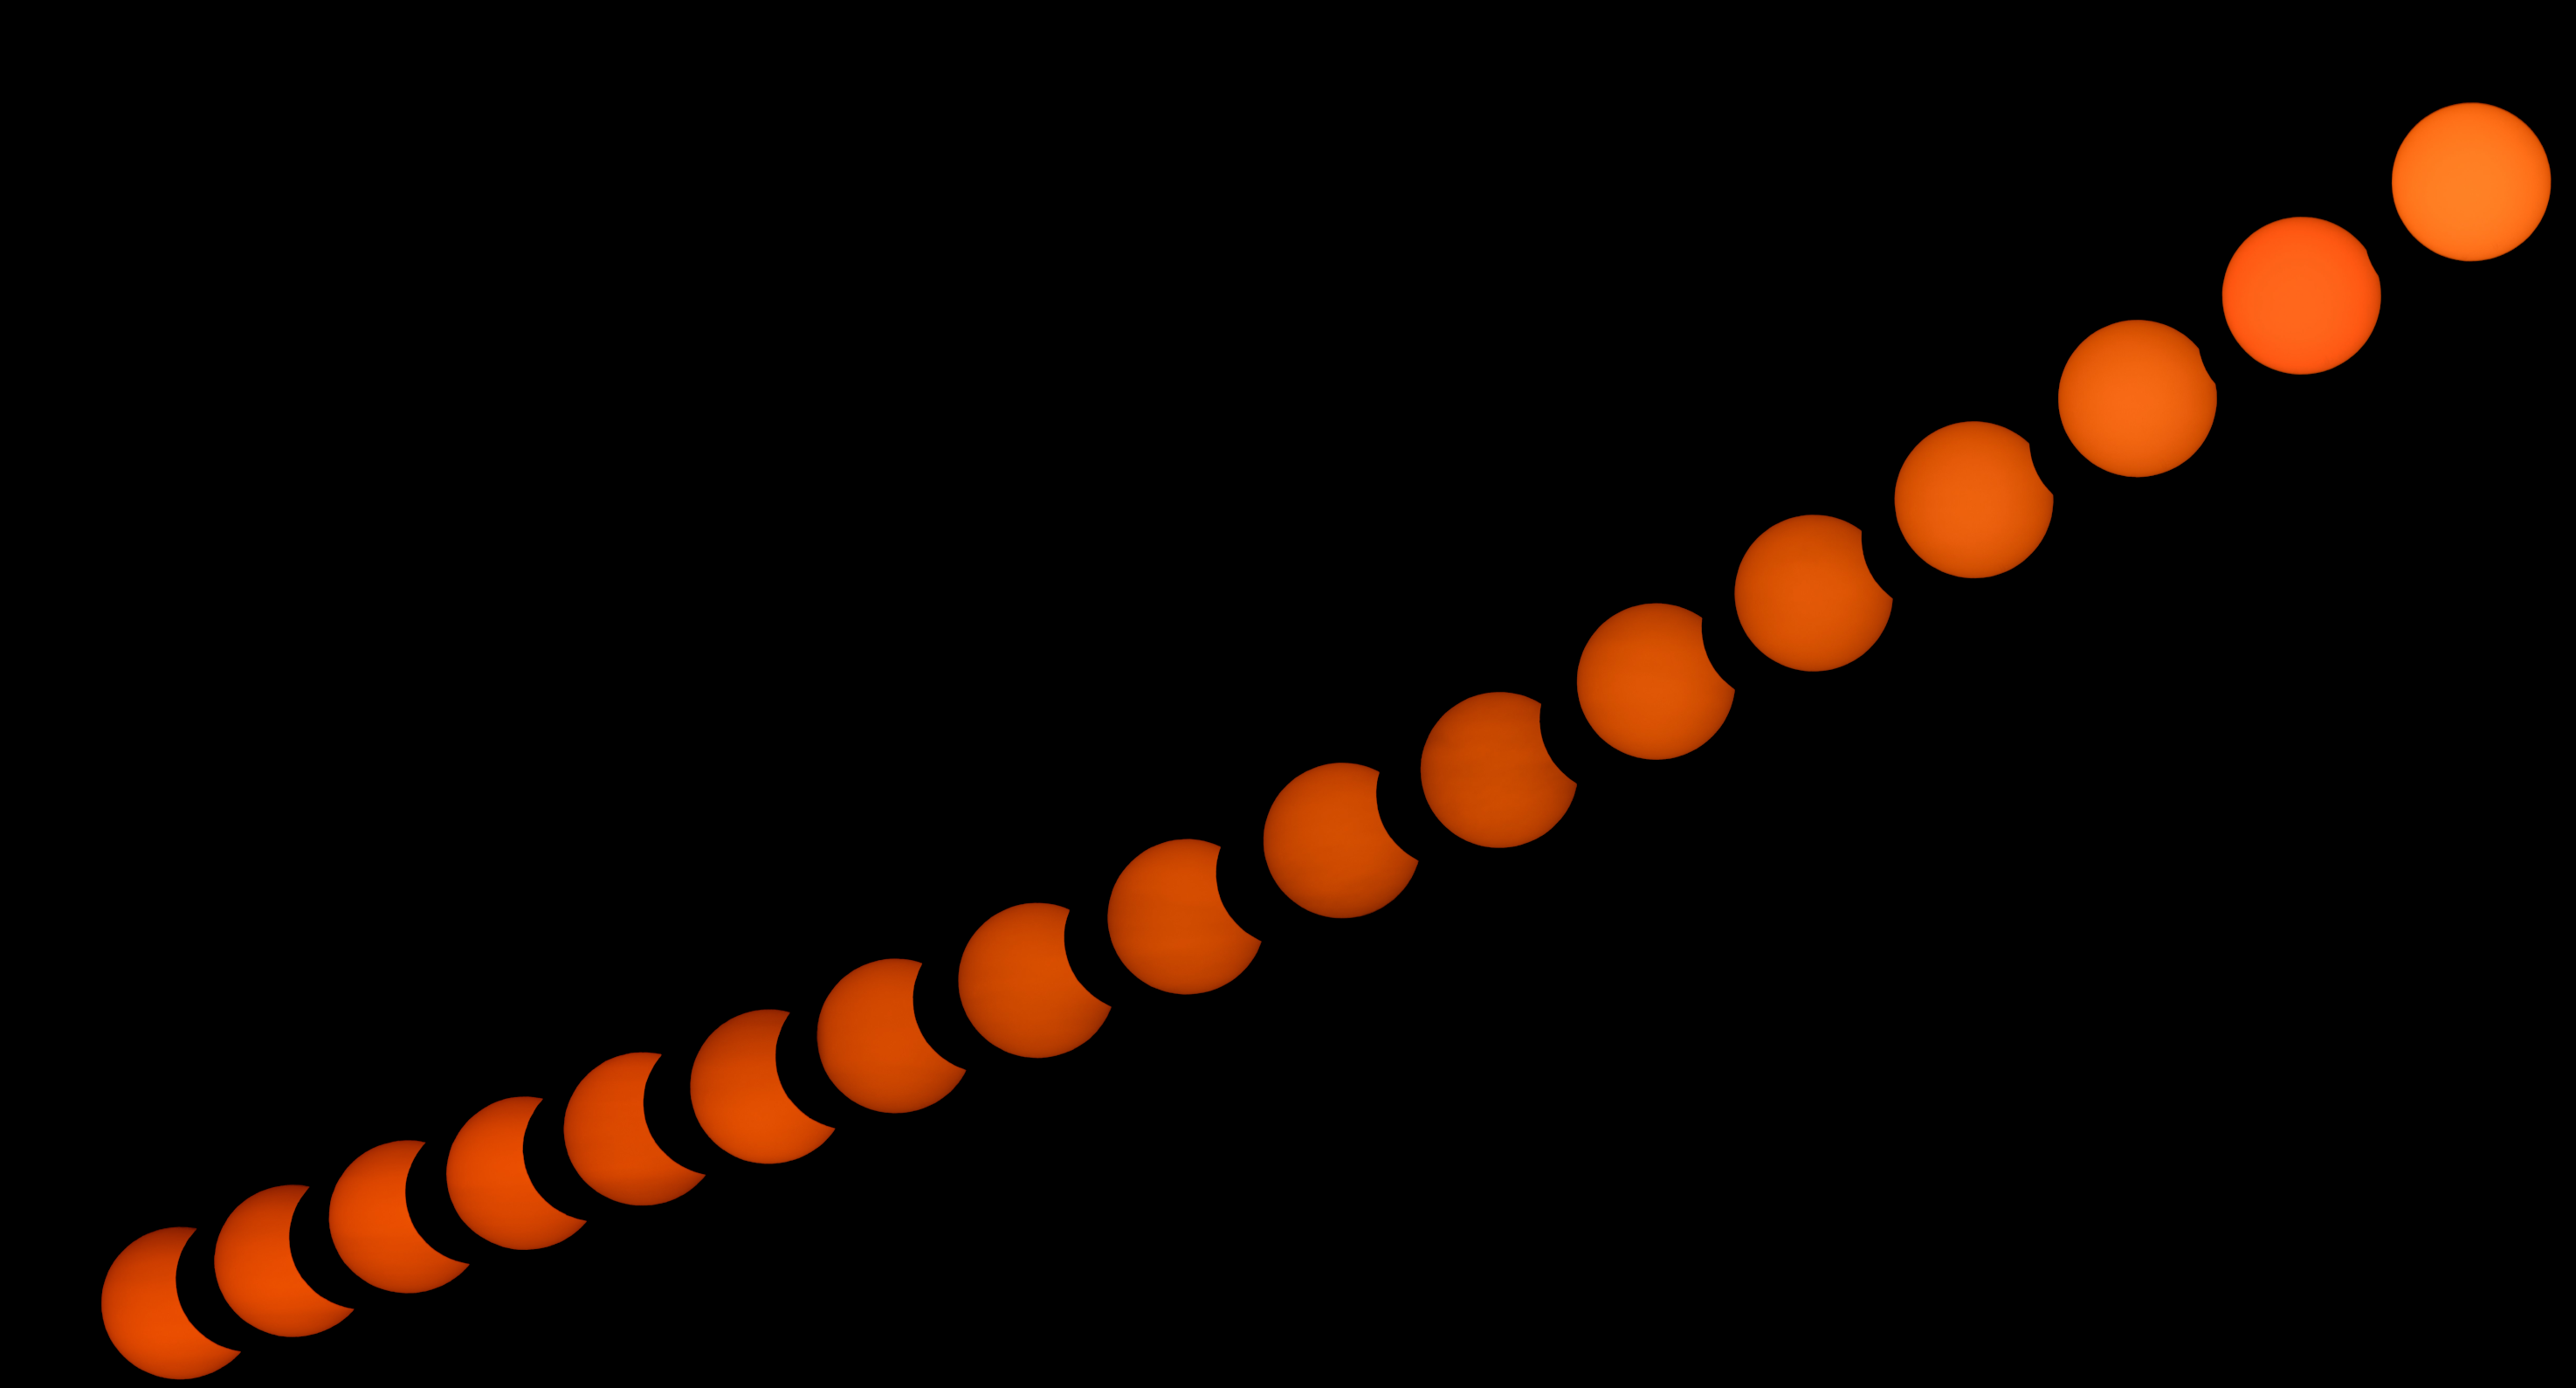
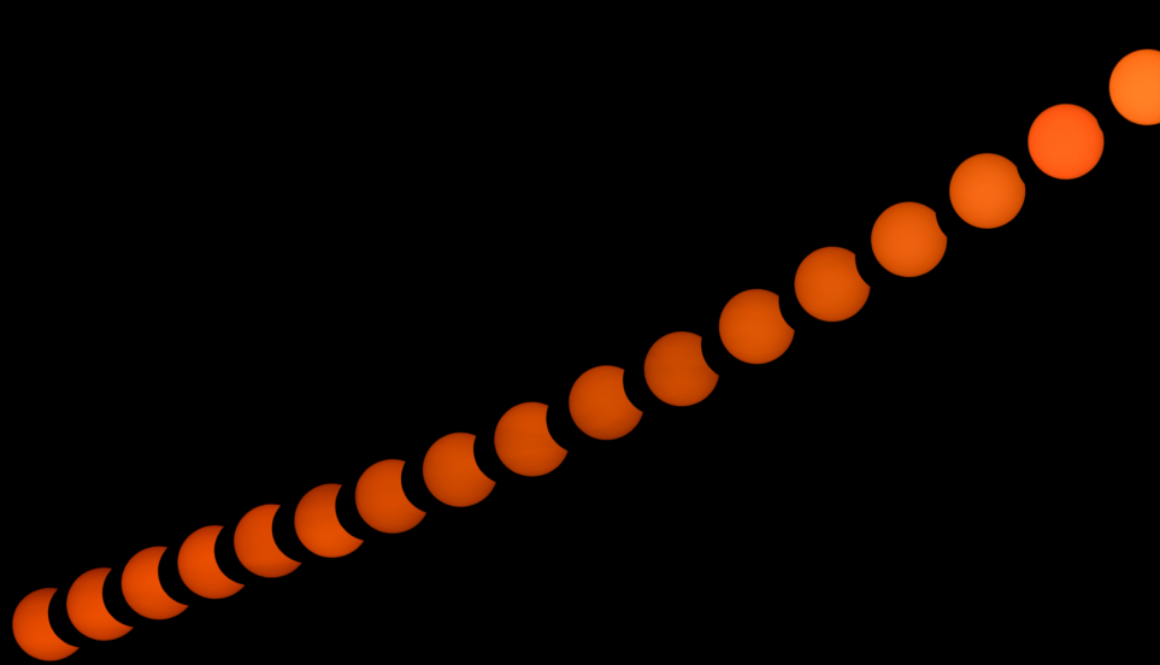
On the morning of June 10, 2021 I imaged the Solar Eclipse with Backyard Nikon. This is a composite image of the eclipse.


